Dynamic content
Overview
The Dynamic content feature allows you to create personalized sections within your emails based on your recipients' demographics. This means that you can insert different sections (such as a top banner, side column, news section, image, RSS feed, etc) in your email for different recipients. You therefore add content dynamically into your email message. The content is added when certain conditions are met, and those conditions are defined by a Filter that you create in the system.
Why use Dynamic Content?
Without having to create multiple versions of your email, you can work on one email with different sections.
Example: You have an e-commerce store that sells shoes for men and women. Every time a customer registers to your store, you send* a "thank you" email containing a large image. Through dynamic content and filters**, you can specify that depending on the gender (male or female) of the customer, a different image (eg. high-heels for women, boots for men) will appear in your thank you email.
*The task of sending a "thank you" email can be automated by setting up a triggered email. To learn more about triggered emails, view this page.
**Filters allow you to segment recipients based on information available (i.e. data fields) in your List. For example, if you don't know the gender of your recipients, you cannot apply a gender filter which sets the condition to show a different image in your email. To learn about filters, view this page.
Types of Dynamic Content
To add Dynamic Content to a message, select Messages > Marketing+ > Dynamic content and click on New.
MailUp supports 3 types of Dynamic Content:
- RSS feed
- Hosted HTML block
- Local HTML block
- Barcode
Let's take a closer look.
RSS feed
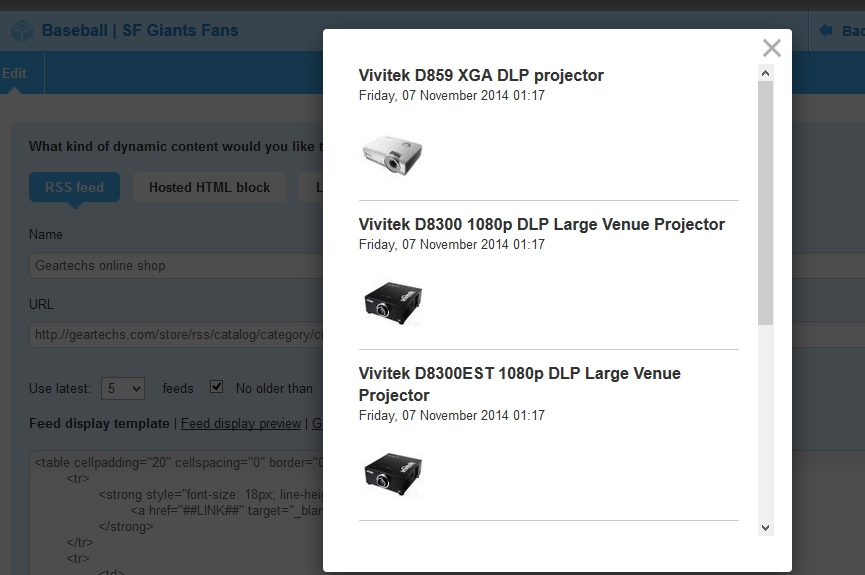
You can dynamically insert the latest items from an RSS or ATOM feed into your message. For example, the latest blog posts or the newest products added to an ecommerce store.
Use the link Field display preview for the preview of the message using the tags you set in the Feed display template. See example below
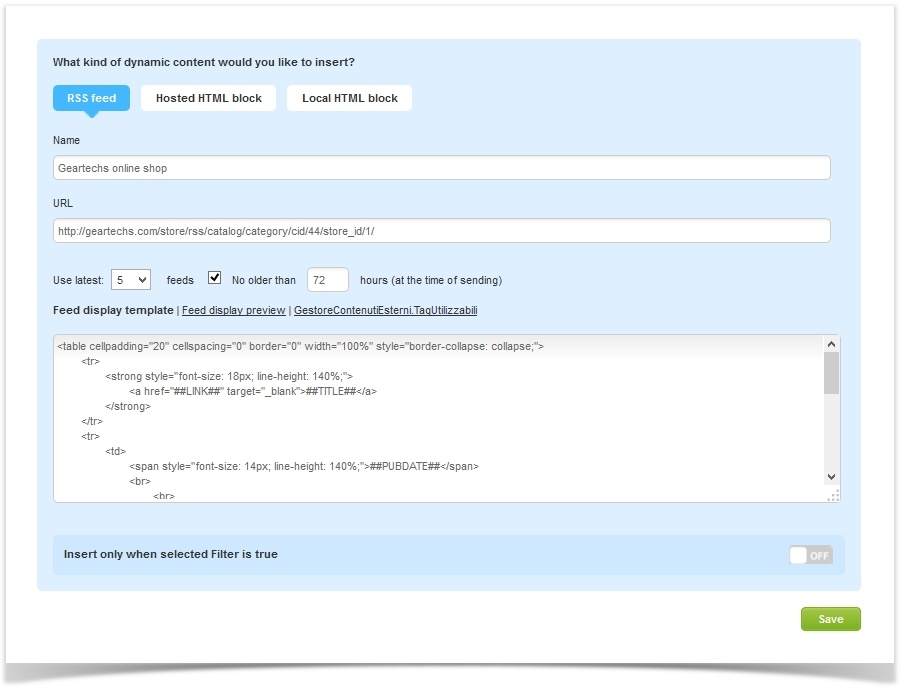
To set up an instance of Dynamic Content based on an RSS or ATOM feed:
- Enter a name for this instance of Dynamic Content
- Enter the URL of the RSS or ATOM feed
- Specify how many items from the RSS or ATOM feed should be inserted into the message. NOTE: the higher the number of items, the larger the potential impact on overall campaign mailing time as the system will have to insert more content in each message.
- Indicate whether they should be no older than a certain amount of hours
- Specify the filter based on which the Dynamic Content will be inserted into the message
- Click Save
MailUp Tag | RSS Tag | ATOM Tag | Details |
|---|---|---|---|
| feed_title | title | title | The title of the individual item in the feed |
| feed_link | link | link | The destination URL of the feed item |
| feed_summary | description | summary | A brief description of the feed item |
| feed_content | content:encoded | content | A longer description of the feed item. Could be the entire article in HTML format. |
| feed_author | author | author | The author of the feed, if present |
feed_updatedate | pubDate | updated | The date on which the feed item was updated |
| feed_mediacontent | media:content (first) | media:content[@url!=''] [1] | Media content associated with the feed item: typically images |
| feed_mediacontent2, feed_mediacontent3, ... | media:content (second), media:content (third)... | media:content[@url!=''] [2], media:content[@url!=''] [3]... | Specific media content (e.g. a specific image), starting at 1 (i.e. feed_mediacontent1) |
Hosted HTML block
You can dynamically insert the content found on a remotely hosted Web page.
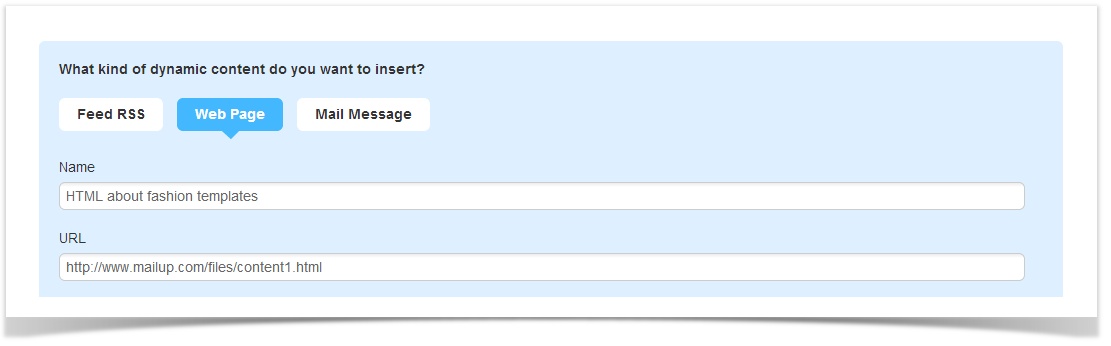
To set up an instance of Dynamic Content based on block of HTML hosted on a Web page:
- Enter a name for this instance of Dynamic Content
- Enter the URL of the Web page (e.g. http://www...).
- The system will automatically load the content that exists within the <BODY> and </BODY> HTML tags of the target page.
- CSS or other content in the <HEAD> section of the page will be ignored.
- There should not be any JavaScript code in the BODY of the page.
- Specify the filter based on which the Dynamic Content will be inserted into the message
- Click Save
Local HTML block
When create an email message in the system, you are creating a "block" of HTML. This feature allows you to use existing messages as locally defined blocks of HTML into other messages, as dynamic content.
In other words:
- Create one or more messages using the HTML editor
- Select it as dynamic content to be used in another message.
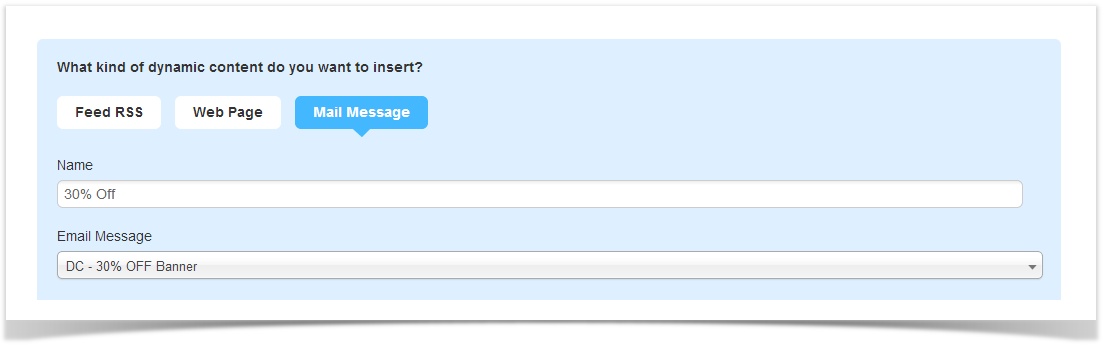
To set up an instance of Dynamic Content based on a HTML block:
- Enter a name for this instance of Dynamic Content
- Select the message from the drop-down
- Specify the filter based on which the Dynamic Content will be inserted into the message
- Click Save
Example: inserting an HTML block as Dynamic Content
Preliminary Step: Plan the layout of your email message. Reserve a section (or multiple sections) of your email in which the dynamic content will be added. Save this email.
Step 1: Create the different elements (i.e. images, banners, side banners, etc.) in a new email message. Strictly speaking in the Email editor, you are creating a block of HTML and not a "new" email message.
Step 2: Save each HTML block as a new email message.
Step 3: Go to Marketing+ > Dynamic content > New. You should see the main tab which asks you to select what kind of dynamic content to insert. Choose Email Message, and select each HTML block that you saved as an email. Repeat this last step to add all your HTML blocks into the system.
Step 4: In parallel to Step 3, each dynamic content must be associated to a determined filter.
To learn about how to manage, create, and set Filters, view this page.
Step 5: Go to your saved email message (from Preliminary Step) and click on edit.
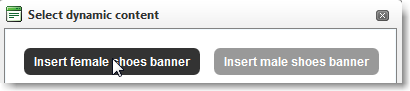
Step 6: In the Email editor, click on Insert > Dynamic content:

Step 7: Select the dynamic tag you created in Step 3. For example, click on the Insert female shoes banner tag, which will be inserted in your emails as a dynamic field: [*Cnt_5_Insert female shoes banner*]
Before selecting the dynamic content tags, be sure to know where to place them in the correct section of your email.
Step 8: Save your email message. Preview your email message to check that the dynamic content is shown properly:
Testing Dynamic Content
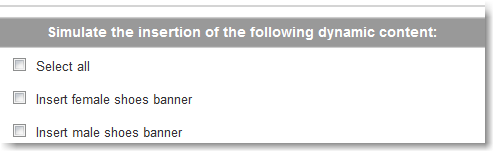
You can test Dynamic Content in two ways:
- Using the message preview feature, as mentioned above
- Sending a test message: please note that dynamic content will NOT be inserted into the message if you use the Quick Send feature. You must set up an actual mailing (e.g. to the "TEST" group).