In this section, you can create new recurring automated campaigns. After having selected Automation > Content > New campaign and finally Telegram.
Choose source
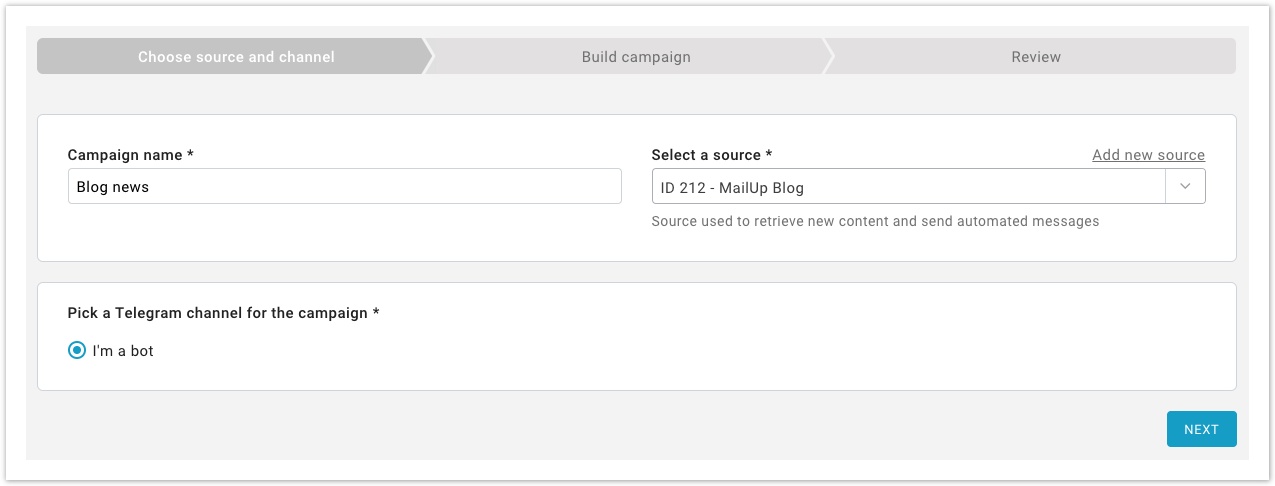
To complete the first step:
- Insert Campaign name,
- Choose the source used to retrieve new content and send automated messages. You can add a new source selecting "Add new source",

Pick The Messenger channel you want to use for the campaign.
Select "Next" to move to the following step, message building.
Buildcampaign
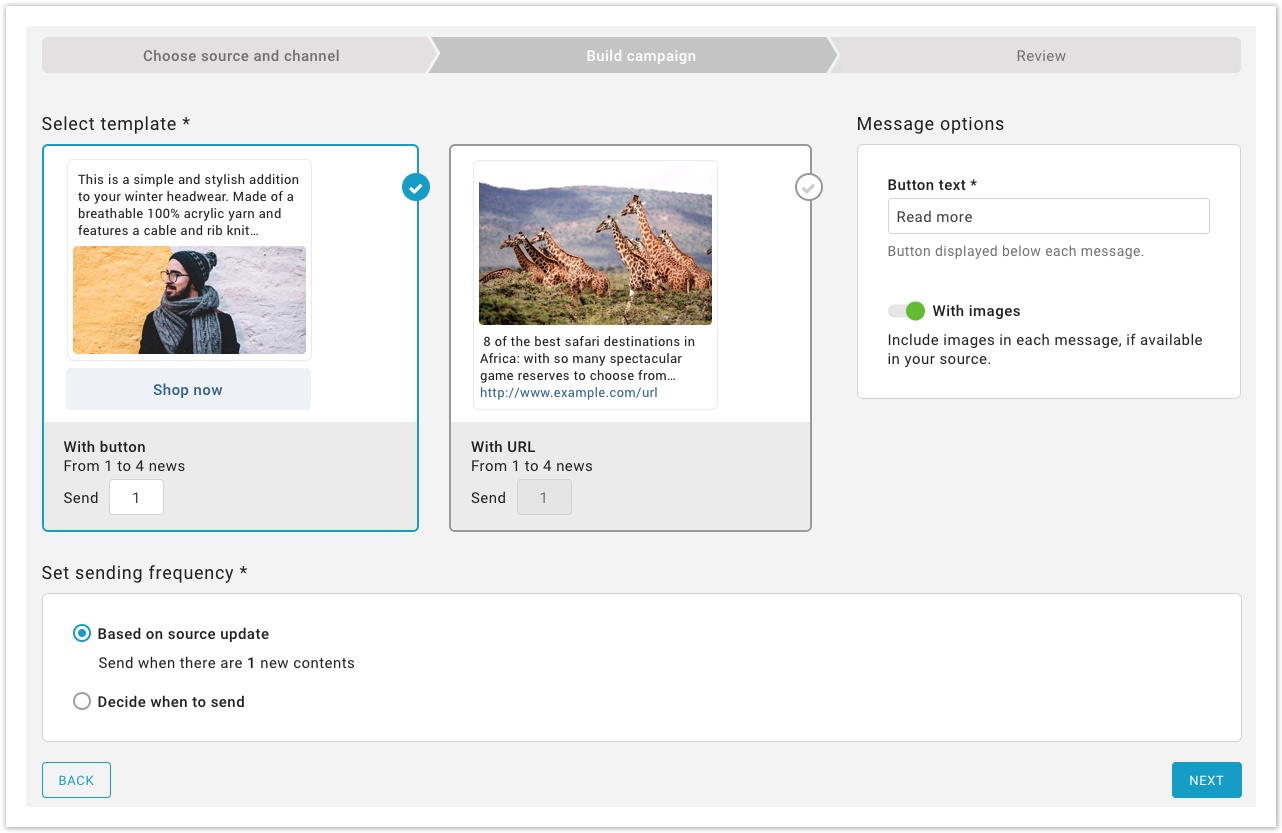
Select template
Here you can decide how to place contents in the message, how many news and how often you want to send the message. To select a template, place the mouse over the model and press "Select". There are several templates:
- With button (allows you to insert a button, displayed under each message, with a text to be inserted in "Options message" menu on the right)
- With images.
- Without images. To view the templates without images, remove the default option "with images" in the message options menu on the right.
- With URL
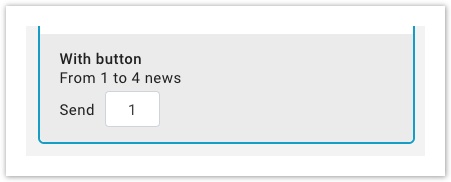
After selecting the template, enter the number of news that the message must contain and write it in the box close to the label "Send", as in the image below.
Set sending frequency
Now you only have to set sending frequency:
- based on source update (
- decide when to send
- send if there are at least N new contents
- on certain predefined days
- at a certain time
Select "Next", once finished.
Review
In the review page, you can check the campaign you just created and make changes if needed.
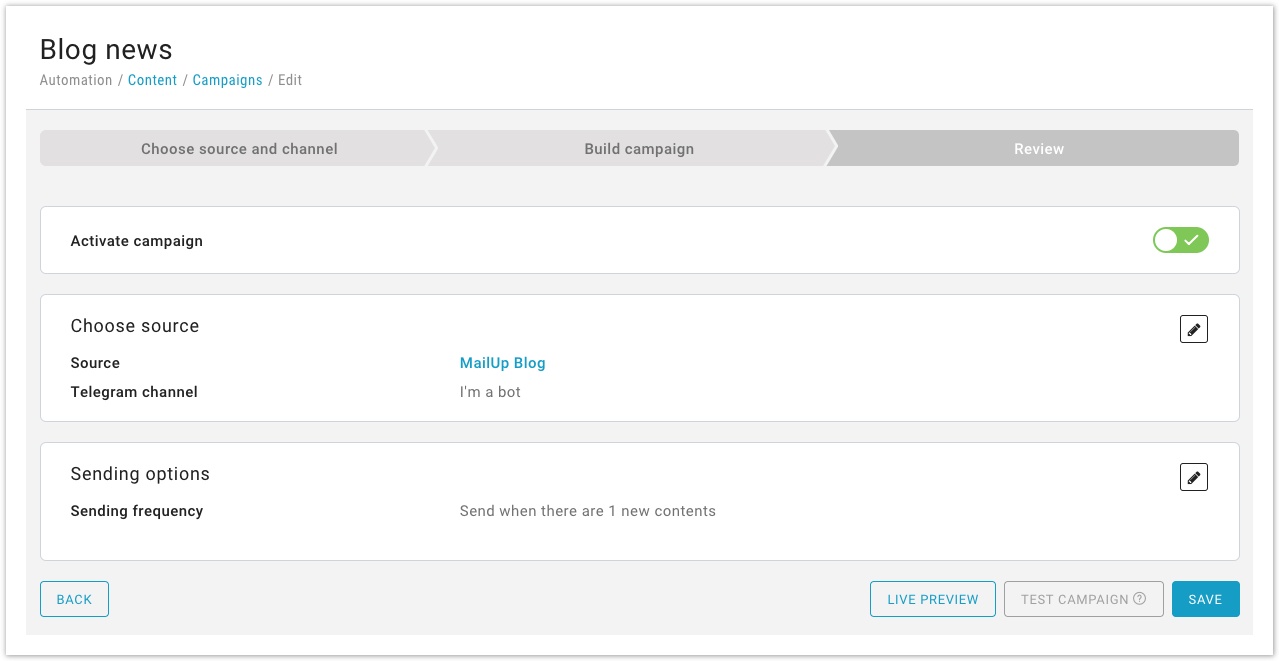
- get back
- Test the campaign
- Save
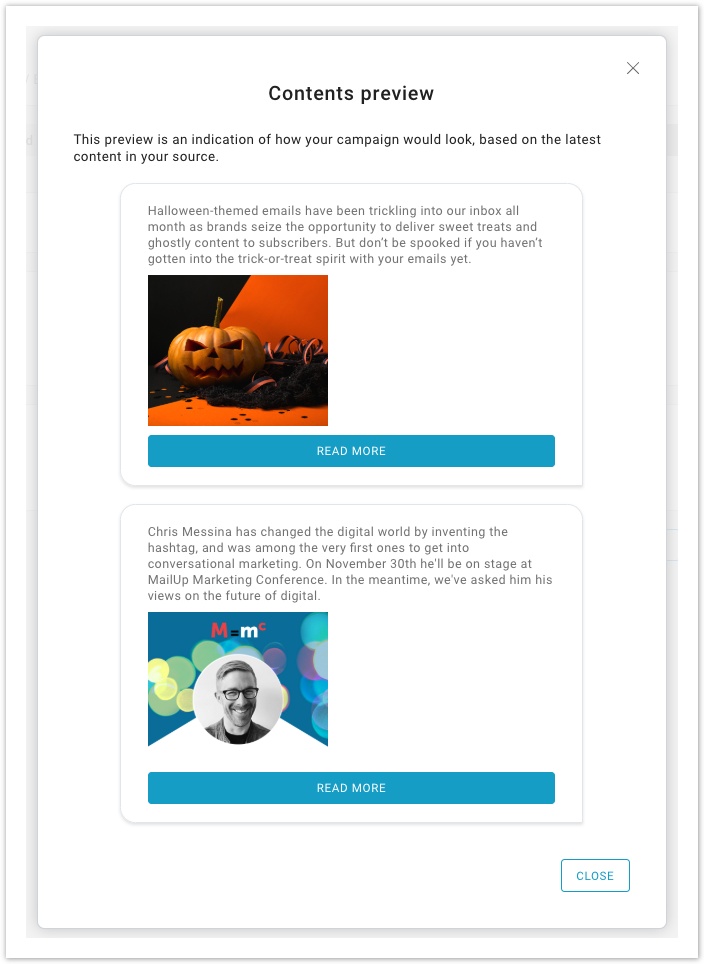
- Live preview
- Activate the campaign, by enabling the option in the first tab