You get the onboarding wizard at your very first login into your admin console and you can:
- Edit or add new contacts
- Set up your account: eg. choose the channel (sms, email....)
- Choose a Link tracking to personalize your domain
Contacts confirmation
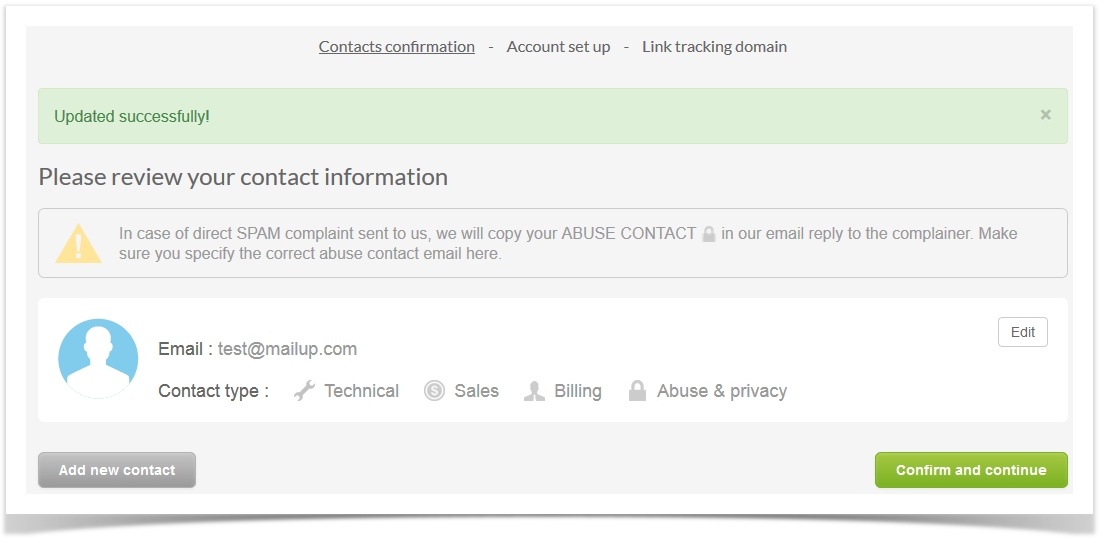
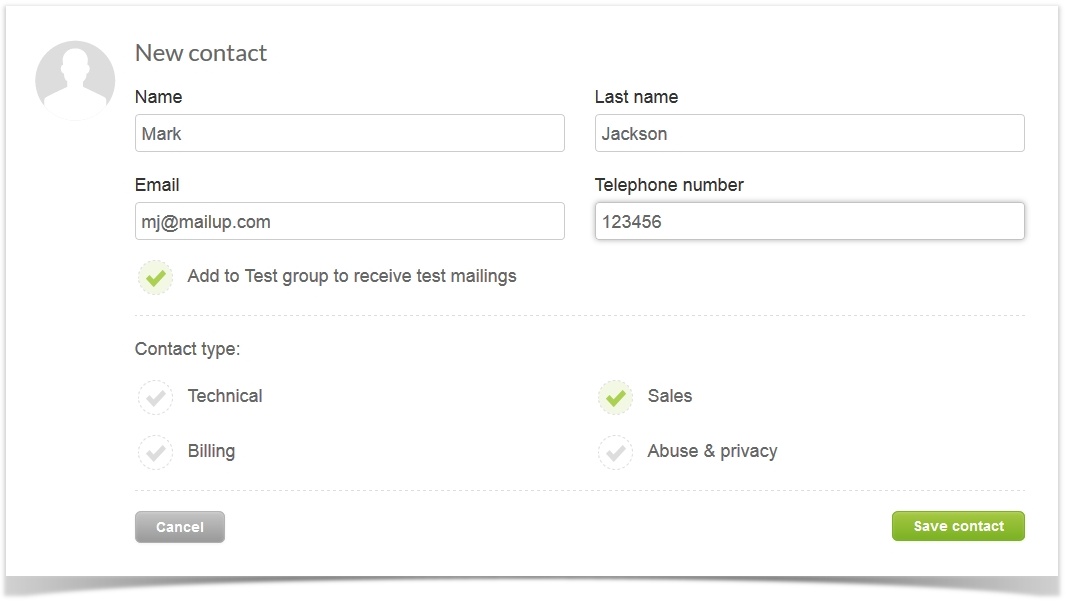
If you are fine with the given contact once you login, click Confirm and continue with the onboarding, otherwise, click on Add new contact to add a new contact. Fill in the form (as displayed below) and specify the contact type (eg sales). Then click on Save contact to advance to the next page (account setup)
Channels
From the Channels setup page:
- Depending on the messages you want to send, choose the channel you want to work with: it can be Email, Sms, Social, Smtp+. Either Email and/or Sms is mandatory
- Add Sender name and Sender email from which you will send your messages. The email must be valid, you will receive a confermation link
- Do you want to send: newsletters, promotions, transactional emails? Pick one
- Indicate if you are sending to a Business or Consumer
- Indicate your company's industry
- Indicate the Sms sender in case you want to send Sms
- Add the mandatory sender info that will be added in your emails' footer, as required by most privacy legislations in the world.
- .....Finally click on Continue to jump to the setup for the Link tracking
Link tracking domain
Add a name for your link tracking domain.
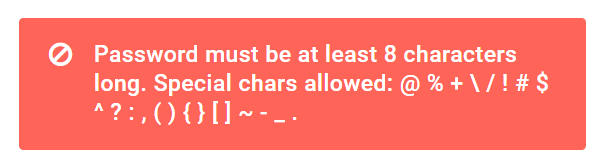
When you log in to the platform for the first time, you will be asked to create a new password for security reasons:

After you have successfully changed your password, you will be asked to read and accept Mailup's user license agreement and terms of use:
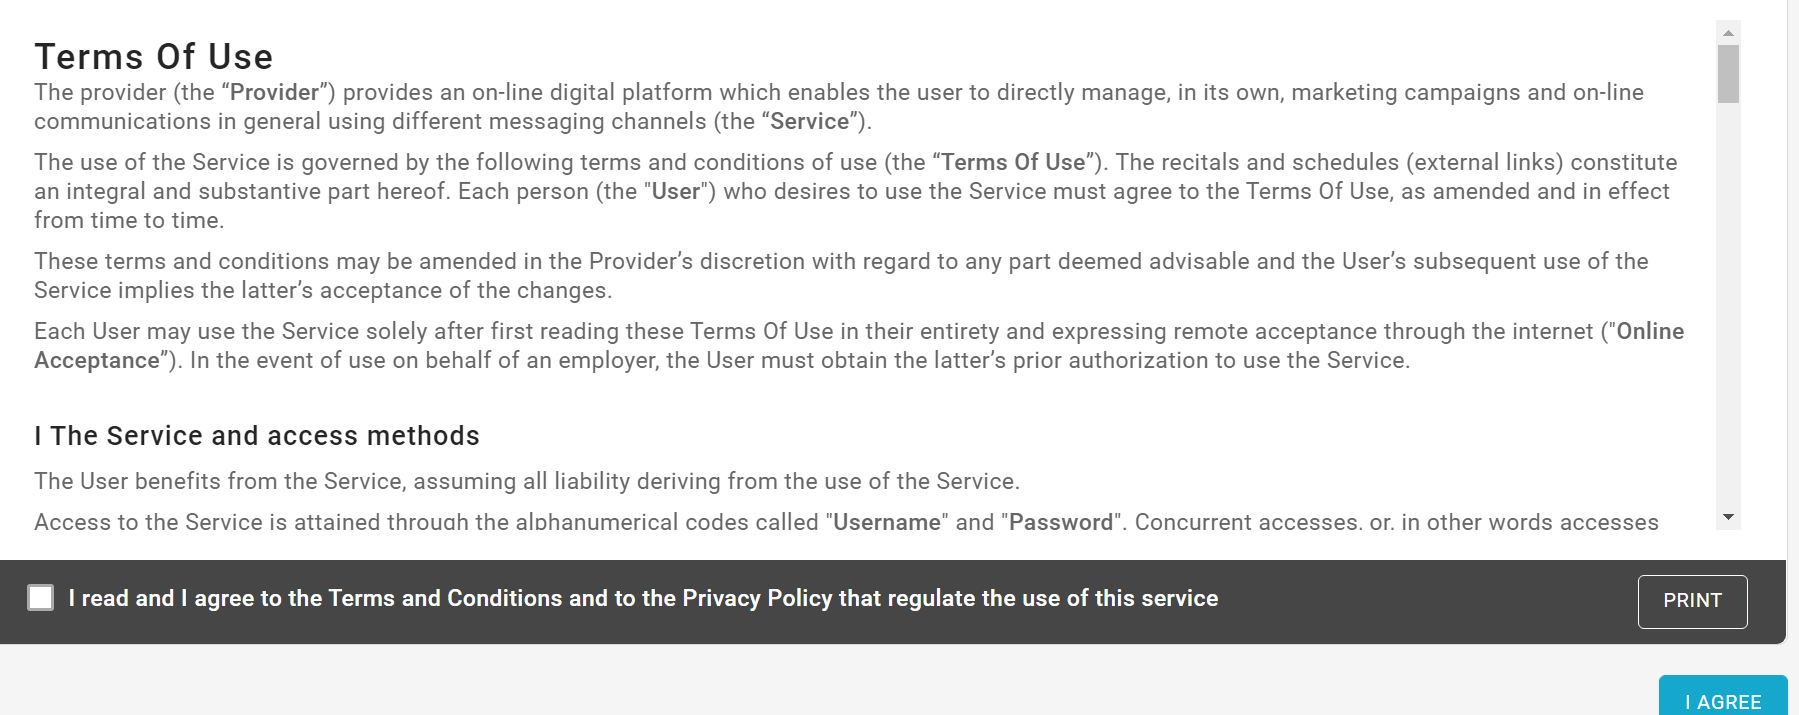
Once you've done this, you will see shown the start page of your new Mailup platform, and you can immediately import contacts and send newslettes.