...
Installing the package in Salesforce
Download the MailUp for Salesforce connector from the following URL: https://login.salesforce.com/packaging/installPackage.apexp?p0=04ti0000000AlPi (version 1.23)
...
In the Package components page your will notice several information on which pieces items will be added to your org, organization: you can simply click on Continue.
...
Next: please authorize the communication between your MailUp console account and Salesforce by selecting the appropriate checkbox and clicking on Continue.
...
You will then see a summary of the API access requirements for this package. Just click on Next to proceed.

You can can then define the access levels for your different users' roles, : select the desired granted level and click on Continue.

You have finally now completed your configuration and can now click on Install.
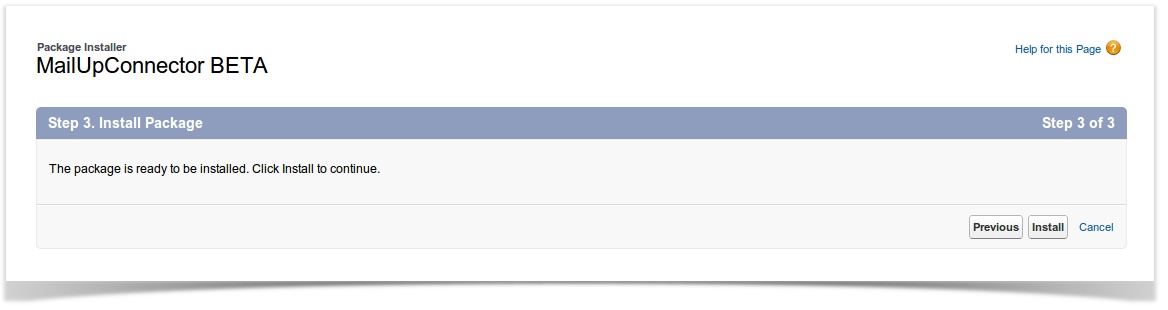
And your MaiUp connector is ready to go and will be available amongst your installed packages:

Field configuration in your Salesforce layouts
To use your connector you will need some further configurations to happen.
Customize pages as MailUp: Set up sections and fields.
...
Once the installation has been completed, you will find the MailUp for Salesforce connector listed together with other installed components in the Sales menu.
Editing your Salesforce layouts
The next steps is to edit a few of the layouts used in Salesforce for use with the connector.
Campaign Layout
First you will need to edit the Campaign page layout.
- Access the Campaign PageLayout: at the left column of your Salesforce console
...
- by selecting Build > Customize > Campaigns > Page layout.
...
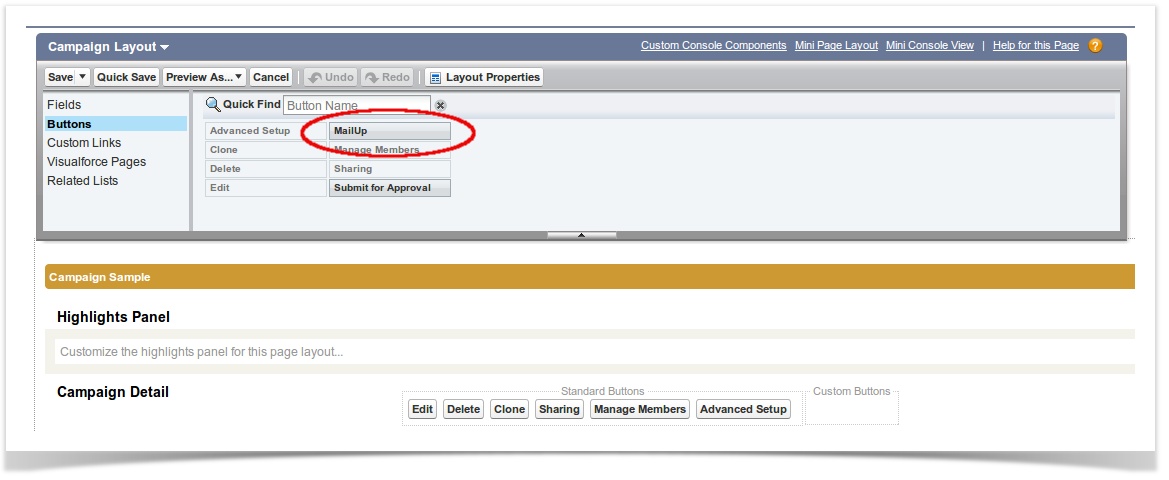
- First add a custom MailUp button to the page:
- Click Edit and select the MailUp button (already available in your fields and buttons lists).
- Drag it to the custom buttons area in the Campaign Detail section
...
- Save the layout changes by clicking on the Save button at the upper left corner.
...
- Next, you will add some new fields to the Campaign page layout
- To do so click again on Edit, and select
...
- Fields.
- Click on the Section button and drag it to the area you want the MailUp section to appear (normally below Campaign Details section
...
- )
- A pop-up will appear to configure the section:
...
- Name the section MailUp
...
- Select the 2-column option
...
- (
...
- the tab-key order option
...
- doesn't matter)
- Click OK
- Now that you have added a MailUp section to the page, add the following fields to it by dragging and dropping the corresponding buttons into that section
- MailUp total views
- MailUp total clicks
- MailUp total bounces
- MailUp total unsubscription
...
- The new MailUp section should look similar to this:
 3)
3)
- Click on Save to save the changes to the Campaign layout.
Campaign Member Layout
Follow the same process in your CampaignMember PageLayout section (to edit your Campaign Member Page Layout.
You will find it under Build > Customize > Campaigns > Campaign Member > Page Layout.)
- Create
...
- a MailUp section by dragging the Section button into the Campaign Details section
...
- Name it MailUp and save the edited layout.
...
- Add the
...
- following fields to it by dragging and dropping the corresponding buttons into that section
- Views
- Clicks
- Bounced
- Unsubscribed
- The new MailUp section should look similar to this:

Console and fields mapping
Map your MailUp console with your Salesforce organization from the new tab Configuration.
Add the following data, click on Save and then on Activate console:
ConsoleID: enter your MailUp account ID without the "m" (eg: 12345)
...
- Click on Save to save the changes to the Campaign Member layout.
Connecting Salesforce to your MailUp account
It's now time to connect your Salesforce organization to a List in your MailUp account.
- Use the new Configuration tab to configure the MailUp for Salesforce connector
- Add the following data to the form that will be displayed:
- ConsoleID: this is your MailUp account ID, which is the numeric portion of your main user name. Let's say your user name is m12345: your MailUp console ID is 12345
- MailUp Username: your main user name, with the letter "m" (e.g: m12345)
- MailUp Password
...
- : the password associated with that user name
- MailUp List ID: the ID of the List in your MailUp account that you wish to connect to. It's an integer and you can find it in your MailUp admin console next to the list name.
- End point URL: the MailUp console URL (e.g.: http://b0x5a.s42.net
...
- ). If you are unsure of what this URL looks like for your MailUp account:
- Log into your MailUp admin console
- Look at the URL in the browser address field
- Copy the first portion of the URL, which should look like similar to this: http://b0x5a.s42.net
- Note that we have removed everything after the domain (E.g. remove "/console/etc...")
- Save the settings and click on Activate console
- ). If you are unsure of what this URL looks like for your MailUp account:

| Warning | ||
|---|---|---|
| ||
You MailUp is a multi-list environment, but you can only associate 1 MailUp console with your Salesforce organization and this will be linked with 1 List onlyone MailUp account and one LIst within that account. Any group contacts or message that will be imported exported from Salesforce to into your MailUp console will be available in the appropriate area of this listthat List. |
Schedule tasks
Your Salesforce organization is now connected to a List in your MailUp account.
You will notice that the page where you just confirmed your console association will now show a new section: Schedule task
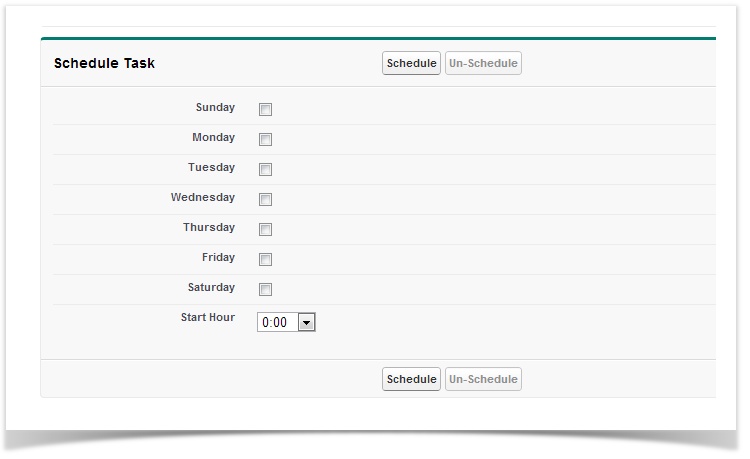
This section si meant to allow you to schedule a synchronization of your campaign statistic. These statistics will be retrieved, once a day at the time you prefer, for a month after you sent your message.
...