Table of contents
| Table of Contents |
|---|
Installing the package in Salesforce
...
- Use the new Configuration tab to configure the MailUp for Salesforce connector
- Add the following data to the form that will be displayed:
- ConsoleID: this is your MailUp account ID, which is the numeric portion of your main user name. Let's say your user name is m12345: your MailUp console ID is 12345
- MailUp Username: your main user name, with the letter "m" (e.g: m12345)
- MailUp Password: the password associated with that user name
- MailUp List ID: the ID of the List in your MailUp account that you wish to connect to. It's an integer and you can find it in your MailUp admin console next to the list name.
- End point URL: the MailUp console URL (e.g.: http://b0x5a.s42.net). If you are unsure of what this URL looks like for your MailUp account:
- Log into your MailUp admin console
- Look at the URL in the browser address field
- Copy the first portion of the URL, which should look like similar to this: http://b0x5a.s42.net
- Note that we have removed everything after the domain (E.g. remove "/console/etc...")
- Save the settings and click on Activate console


| Warning | ||
|---|---|---|
| ||
MailUp is a multi-list environment, but you can only associate with your Salesforce organization one MailUp account and one LIst within that account. Any contacts or message that will be exported from Salesforce into your MailUp console will be available in the appropriate area of that List. |
...
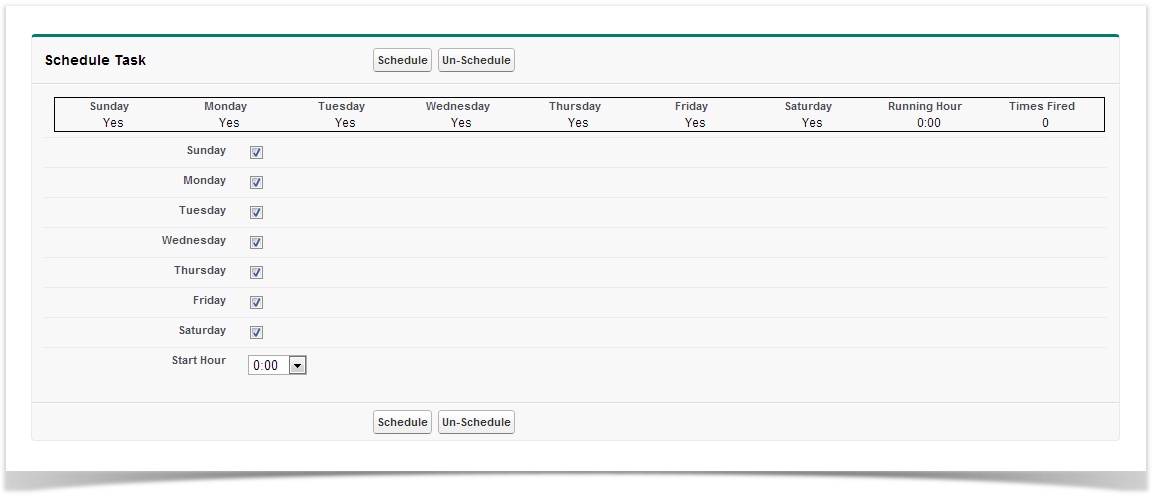
Your Salesforce organization is now connected to a List the list your specified in your MailUp account. You will notice that the page where you just confirmed your console association will now show a new section: Schedule taskThe bottom of the Configuration page has another section called Schedule Task.
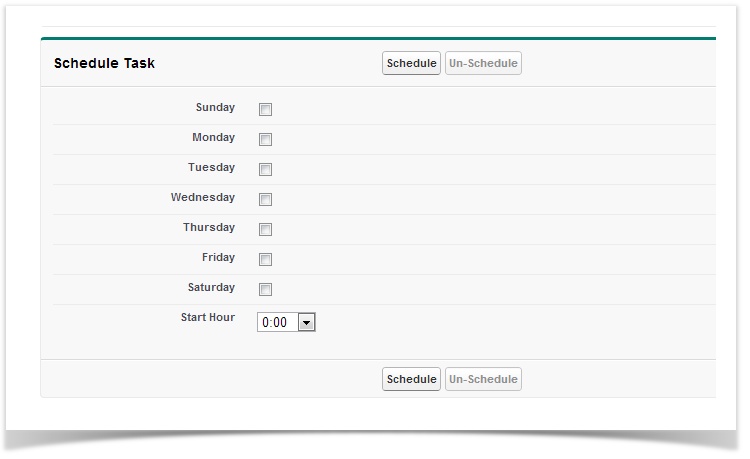
This section si is meant to allow you to schedule a synchronization an import of your email campaign statisticstatistics. These The statistics will be retrieved , once a day at the time you prefer, specify for a period of a month after you sent your messagecampaign.
...
Field mapping
Finally, you will want to map fields between your lead and contact database in Salesforce and your recipient database in MailUp.(learn more abount custom recipient fields in MailUp).
To do so, click on the new Field Mapping tab in the navigation.
- On the left you will see the recipient fields imported from MailUp
- In the second and third column you will see Lead and Contact Fields
- Map the ones that are relevant to you: when campaign members are pushed to MailUp during the setup of a MailUp campaign in Salesforce, the data contained in the fields mapped on this page will be copied from Salesforce to MailUp.
- You do not need to map all the fields
- When you are done, click on Save at the top of the page.
| Warning | ||
|---|---|---|
| ||
| Do not map the email address as this is already mapped by the code as the unique identifier of your contact! |

Your're done!
You've completed the installation and configuration of the MailUp connector for Salesforce.
You can now start your first campaign now!