To add a new Triggered MessageTask, click on Marketing+ > Automation > Tasks > New
| Tip | ||
|---|---|---|
| ||
We suggest to work with automated messages in three steps:
|
The Add New Triggered Message The task creation page is divided into 4 sections.
- General information, which is the top section of the page
- Activation Frequency
- Condition
- Action
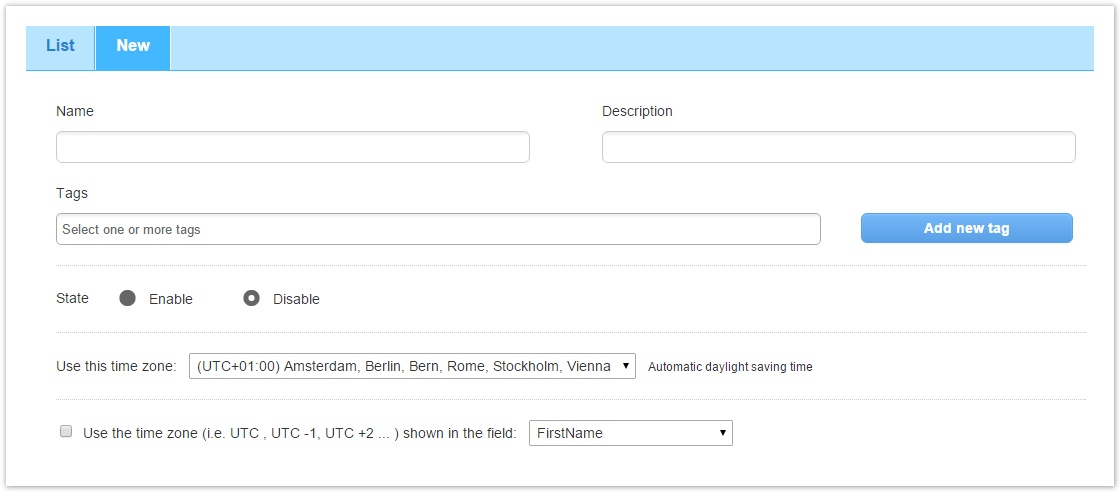
General information
On the top area of the page, you can specify:
- Name: a short name for the triggered message task that you are creating.
- Description: a description for which it will be used. Both name and description are for internal use only. They are never shown to the recipient of the a triggered message.
- Tags: associate one or more tags to the triggertask. You can use tags defined for previous messages or create a new one by clicking on "Add new tag".
- State: whether the triggered message task is Enabled or Disabled. (e.g. you are just testing it).
- Use this time zone: you can specify a certain period of time in which an Enabled triggered message task will be run.
- Use this time zone...in the field: specify a different time zone you can use and pull it from a profile filter.
Activation Frequency
Next, specify the frequency with which the system will check whether the message the action specified later in the "action" tab should be sentperformed.
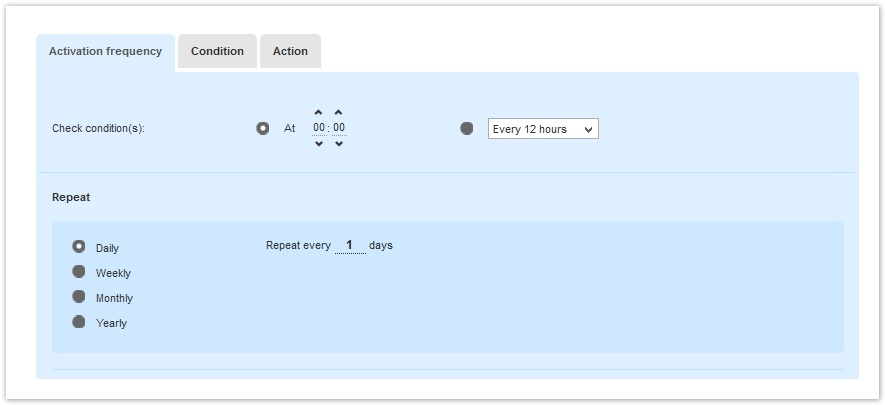
Check conditions: at a specific time (e.g. at 0.00) or every 4, 8, or 12 hours
...
| Note | ||
|---|---|---|
| ||
| Frequency If you're setting up a triggered message, frequency refers to the interval at which the triggered message is run. You are not setting how often the message will be sent. You are indicating how often you wish the system to check whether the message should be sent. The message will then be sent if the event it triggers occurs. That is: if the conditions that you specify under the Condition tab are found to be true. |
...
- Active from: you can set your automated message task so that it runs only within a certain period of time (e.g. from the 12th to the 25th December)
- Except: you can add a blackout date (e.g. December 25th where you don't want your recipient to get any messages) or a Recurring blackout date (e.g. you can prevent triggered messages from being sent during the weekend)
- If the task is skipped: if any of the limitations you set occur you can set when to execute the automation (e.g. if monthly and Jan 1st is a blackout date it runs on Jan 2nd)
Condition
In the Condition tab, you can set which users will receive the automatic sending according to different parameters.
In general:
...
The bottom part of the page allows you to further restrict the applicability of the triggered messagetask.
You can:
- Include one or more groups.
- Exclude one or more groups.
...
3. Finally, the function Apply these additional filters makes it possible to define the customers' target with more precision. It allows you to select other filters to apply when running an automatic sending. For example, if the automatic sending requires the use of two profile filters, you can apply the first filter at the top of the page and under When the profile filter is true and then select the second filter in the Apply these additional filters.
Action
Finally, you need to specify what happens if the Conditions that have been checked are all true. The options are:
...
- Assign the recipients to a group (e.g. recent subscribers )
- Viewing existing triggered messages
- Simulating the execution of a triggered message
- /wiki/spaces/MUG/pages/36869412
- Viewing statistics
- About triggered messages About Marketing+
- Move the recipients from one group to another
Related articles
- another