...
List Settings
...
| Note |
|---|
As noted in the MailUp Glossary, a List is an environment of |
...
recipients, and |
...
a Group is a subset |
...
of |
...
recipients within a |
...
List. (It is most common to have only one main |
...
List, but multiple |
...
Lists can be created.) |
...
We first recommend that you first create your LIST and other settings, even for the Trial User Test.
At the MailUp Console on the left, you will see multiple colored tabs. Select "SETTINGS > EDIT LISTS" and click on the "EDIT" button next to your default list.
The Categorization button is designed for marketing purposes and creates statistical information in your Benchmarks (see Statistics tab.)
Review and edit the settings for your specific list, mainly the Owner E-mail. You can also have the system notify you when a customer decides to opt-out.
...
Be sure to choose the correct List from the drop-down in the upper left corner of your console.
|

Review List Settings
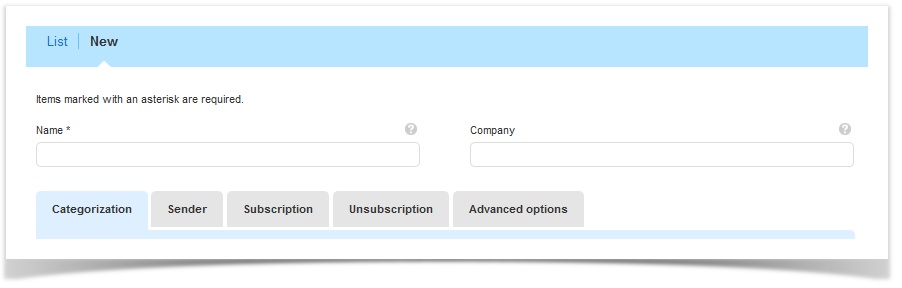
Once in the MailUp Console, select Settings > Account Settings > Lists. Click on the New tab up top and the name your list in the Name field. You can choose to fill the Company field for internal purposes only.
Review the tabs: Categorization, Sender, Subscription, Unsubscription, and Advanced Options. Click through all the tabs, especially the Advanced Options, to set email headings display, and tracking preferences.
Default Messages
There are four important templates to review if you'd like to Test more default messages, which are located in the Subscription and Unsubscription tabs in the Group page:
- CONFIRMATION REQUEST E-MAIL: Sent to request that a user confirms his/her subscription.
- E-MAIL TO CONFIRMED RECIPIENTS: Sent to confirm the subscription after they click in the link contained in the CONFIRMATION REQUEST.
- E-MAIL TO UNSUBSCRIBED: Sent to a contact that has decided to unsubscribe.
SMS TO SUBSCRIBED: Text message sent to customer to confirm subscription.
| Tip |
|---|
We recommend you complete the settings even for trial purposes. Refer to List Settings in the User Guide. |
Multiple Lists
Create a list for each message (email, newsletter, text message) that you typically send. Or for multiple clients if you have an agency using one MailUp account. For example, if you send both a "Product Updates" and a "Specials & Promotions" newsletter, you might want to create two lists so that you can let your customers subscribe/unsubscribe to them separately.
If you are a consultant and use your MailUp console to manage for independent management. That way, one recipient can safely unsubscribe from one and not the other. Or, if you are an agency managing multiple e-mail marketing campaigns for your clients, you can create a single list for each site/ client/portal/language managed.
Testing
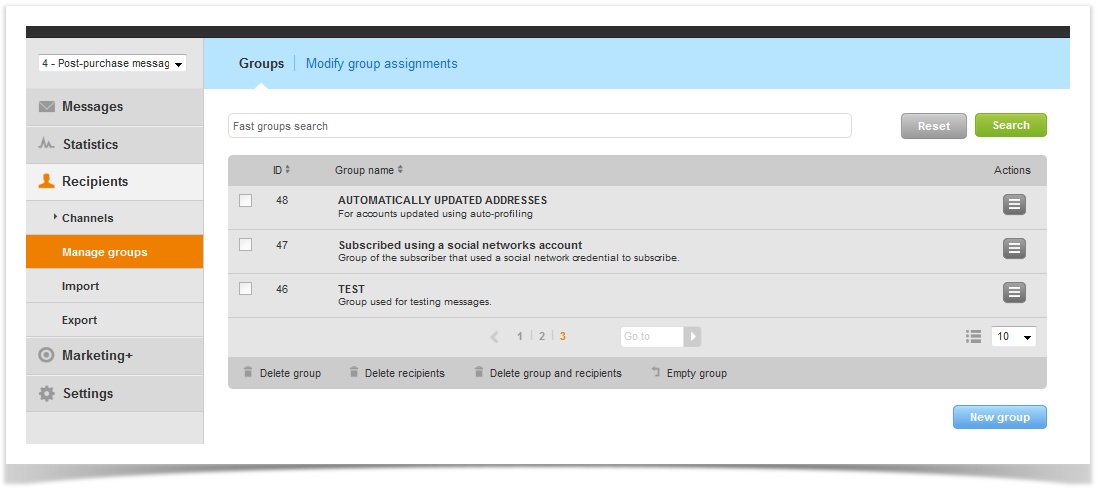
It is not necessary to create a new group for testing purposes. Within a List, Use the default TEST Test group to test your console. You can manually add subscribers recipients to your console and assign them to the TEST group so that you can Test group to immediately start testing the mailing of a test message.
Default Messages
Under the SETTINGS menu, there are four important templates to review if you'd like to Test more advanced settings:
...
SMS TO SUBSCRIBED: Text message sent to customer to confirm subscription.
...
mailings. To access the Test group, go to Recipients > Email > Manage Groups. In the Groups tab, you will see the group named TEST listed by default.
Other Settings
For Quick Start or trial purposes, you may not want to engage all the settings options at this time. Be sure to visit the Knowledge Base for more specifics.