Account
...
vs. List
...
settings
In the MailUp Admin Paneladmin panel, you have two settings levels: The Account level, and the List level. See Definitions.
A List is a "sub-account" in your Account, and all lists are affected by your Account settings (see Account settings) and by your overall MailUp subscription properties (speed of delivery, dedicated IP, no logoextra options that you have signed up for, etc.) The only thing that lists share by default are the Recipient Field categories at the Account Level. .
As you get started, one thing to keep in mind is that Recipient fields (e.g. custom fields in your contacts database) are set at the account level. For example, if there is you need a custom field that holds a recipient's ZIP code, that field category is shared across all lists.Templates can also be shared across Lists.
Therefore, the first thing we suggest you do is to first set up your Recipient Field categories (40 are customizable!) (This will be a crucial step once you're ready to import your recipient data!)
Go to Account settings.
you will set it there. Especially if you plan on importing contacts into MailUp, we recommend that you look at Recipient fields first.
A multi-list environment
MailUp is a multi-list environment, each list is completely independent of the other, each with it's its separate import of recipients and subscription status, message settings, user settings and statistics. Therefore, most of MailUp's features are handled at the List level, and the user must always first choose the List to operate in.
...
| title | Default List |
|---|
...
You can create multiple lists, for all kinds of purposes. Remember, each list is independent of the other. Some examples of using multiple lists in MailUp:
- You have more than one company newsletter
- You run an ecommerce store and send Daily Specials, Weekly Promotions, New Arrivals, etc. and want recipients to be able to subscribe/unsubscribe independently to/from each of them
- You decide to use MailUp's SMTP+ feature, a built it -in SMTP relay service perfect for all of your transactional and/or company emails
You want to send a Welcome series by using triggered messages
, andand want recipients to be able to opt out from the Welcome series separately from your regular newsletter
| Note | ||
|---|---|---|
| ||
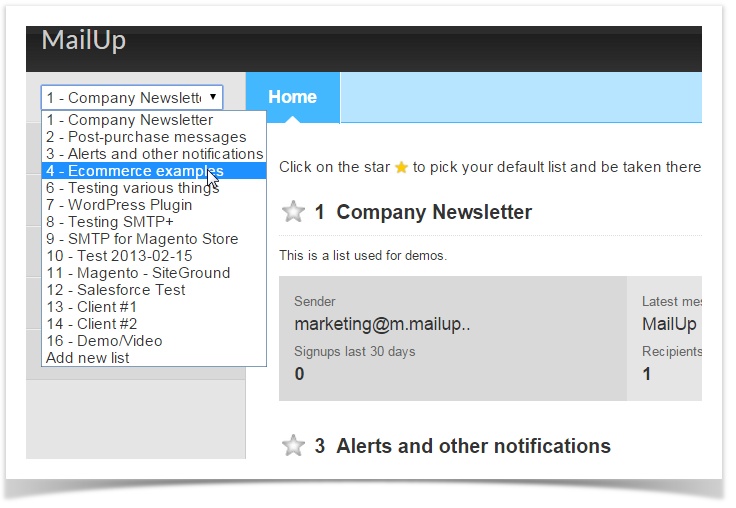
By default, your MailUp account will include one List, named "News" (you can rename it). You can add new Lists under the Account settings. Once you add a new List, a drop-down will appear in the top-left corner, allowing you to easily move from one list to the next. |
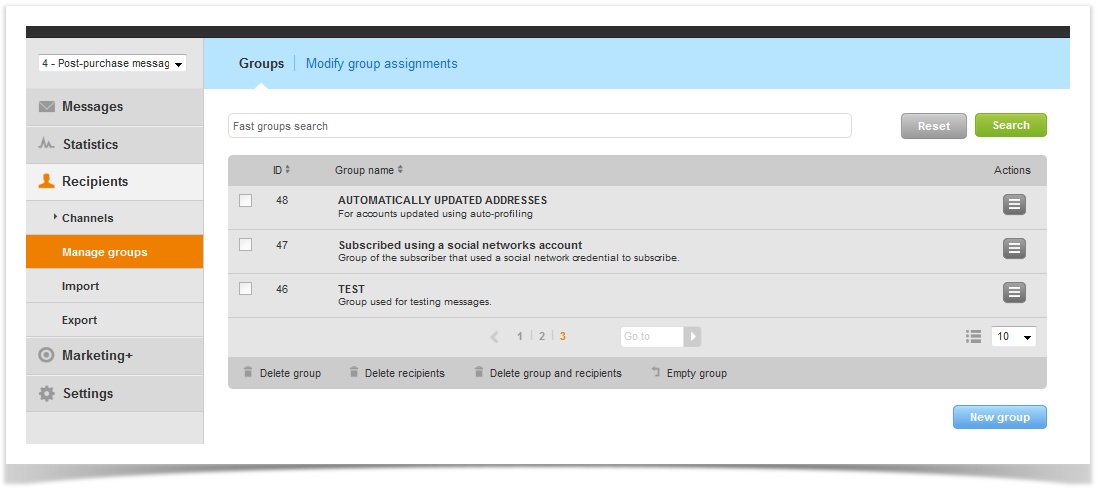
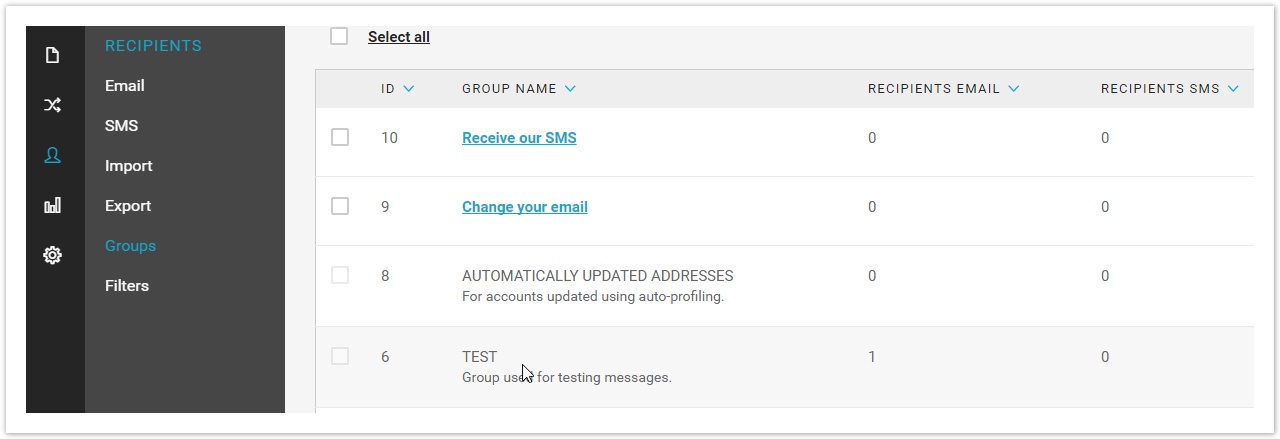
MailUp also allows you to create Groups, which are subsets of recipients within a List.
| Info | ||
|---|---|---|
| ||
| Take a minute to familiarize with the MailUp glossary, such as the difference between Lists and Groups. |
Configuring list settings
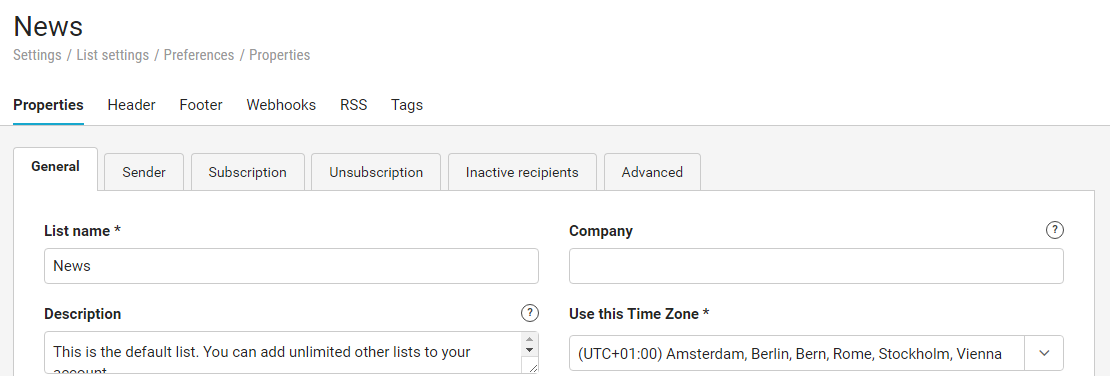
After you've configured your Account Settings as indicated above, you will need to set up your your List settings. Since all activity is handled at the List level, you must configure your settings for each list you create (even for the default List!). Once in the MailUp admin panel, select Select Settings > Account List Settings > ListsPreferences.
For your default List, click on the "List tab". Review the tabs: Categorization, Sender, Subscription, Unsubscription, and Advanced Options. Click through all the tabs , especially the Advanced Options, to set email headings display, and tracking preferences.
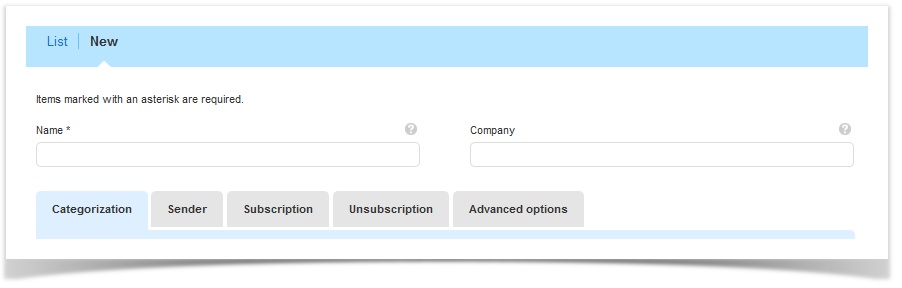
For all additional lists, click New tab and name All settings marked with a * are mandatory.
To create a new list, go to Settings > Account settings > Lists and click on "NEW LIST". Name your list in the Name field. You can choose to fill the Company field for internal purposes only.
...
Once you've created additional lists, a drop-down box will appear on your admin panel. Be sure to choose the from the right list when operating MailUp!

Default Messages
There are four important templates notification messages to review if you'd like to Test more default messages, which are located in the Subscription and Unsubscription tabs in the Group page:before starting to use your account. They are located in Settings > List settings > Notification messages.
- Confirmation Request Email: Sent to request that a user confirms his/her subscription.
- Email to Confirmed Recipients: Sent to confirm the subscription after they click in the link contained in the CONFIRMATION REQUEST.
- Email to Unsubscribed: Sent Sent to a contact that has decided to unsubscribe.
SMS to Subscribed: Text message sent to customer to confirm subscription.
...
It is not necessary to create a new group for testing purposes. Within a List, you can manually insert recipients to the default Test group to do test mailings. To access the Test group, go to Recipients > Email > Manage Groups. In the Groups tab, you will see the group named TEST listed by default.