...
Clicking on the pencil icon, in the first box, you will be able to edit Subject, Notes, and Preheader for the message and to add or remove tags. To add a new tag, type the text into the field and then hit enter.
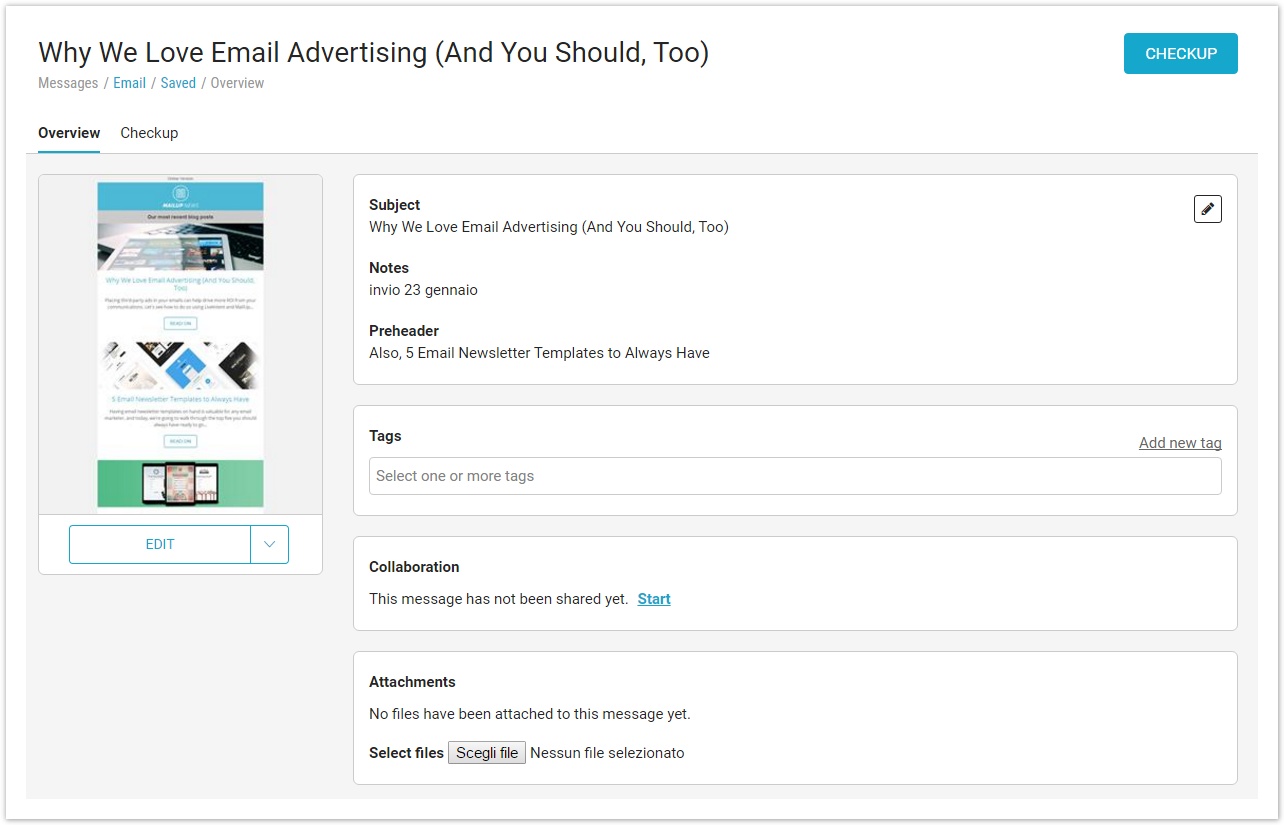

The other boxes allow to add or remove tags, start a collaboration project or access it, if already existing, add attachments (if included in your subscription), and edit advanced settings (dynamic fields, link tracking, Analytics tracking code etc.). Finally, you can go to the message checkup phase by clicking on "CHECKUP" at the top right, or you can make a quick send or send to recipients using the buttons at the bottom right.
...
If you select "Set as notification message", you can mark the message as a Subscription confirmation request or a Welcome email, and set it as the list default, if you wish so. Please note that, in order to use it as Subscription confirmation request, a message must contain the subscription link, otherwise this selection will be disabled, as in the example below.

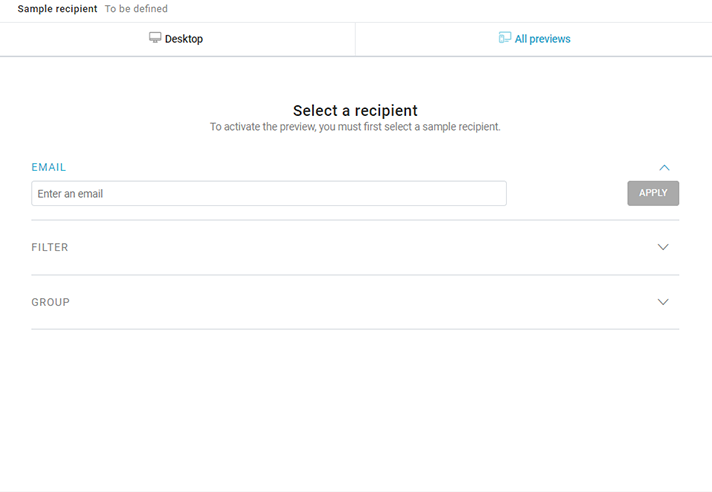
Finally, place the pointer on the preview image and select "Open preview" to have a preview of the message.

In all cases when the message contains personalized content, the platform will allow generating a preview based on email address - typing the email - to apply a filter or randomly pick a recipient in a group.