Getting started
To begin creating a message with the new BEE editor from your platform, click on Messages > Email, then click on "NEW EMAIL" and then click "START DESIGNING"

Drag-&-drop templates
Build your message starting from:
- Basic templates: they are basically wireframes for your new message
- Rich templates: they contain sample content to give you some design ideas
- My templates: they are previously saved custom templates
For basic or rich templates, you can:
- Preview it
- Create a copy and save it as a custom template
- Create a new message starting from the template, by clicking on NEW EMAIL.

In the "My Templates" section, you can also edit or delete templates.
Create the message
Creating a message with BEE is very easy.
After choosing a template, you will be able to customize:
- Content
- Structure
- Body
Let's see in detail these three areas.
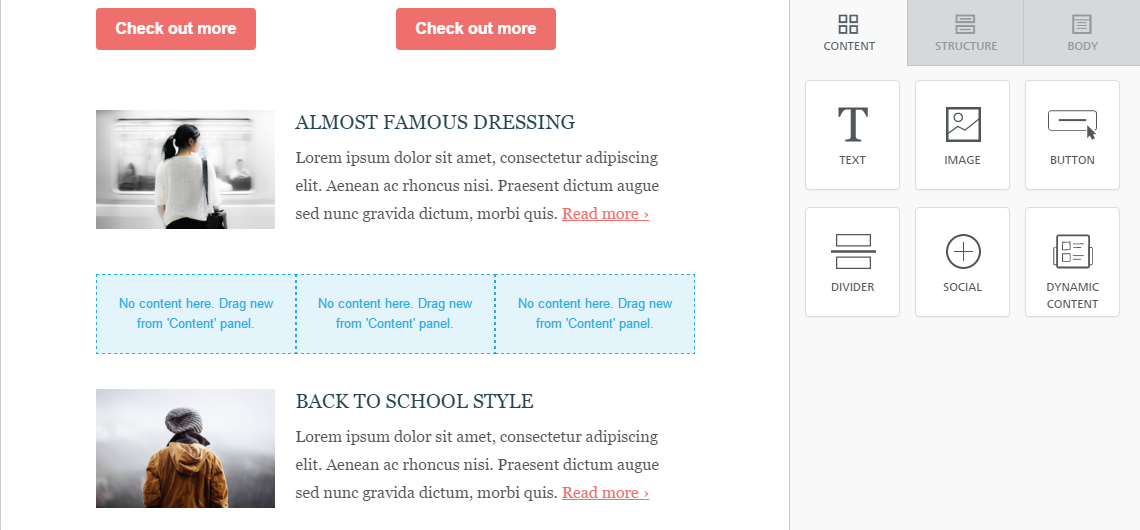
Content
The "Content" tab allows you to choose a new content element and add it to your message. Just drag and drop a content element (button, image etc,) in the message area on the left.
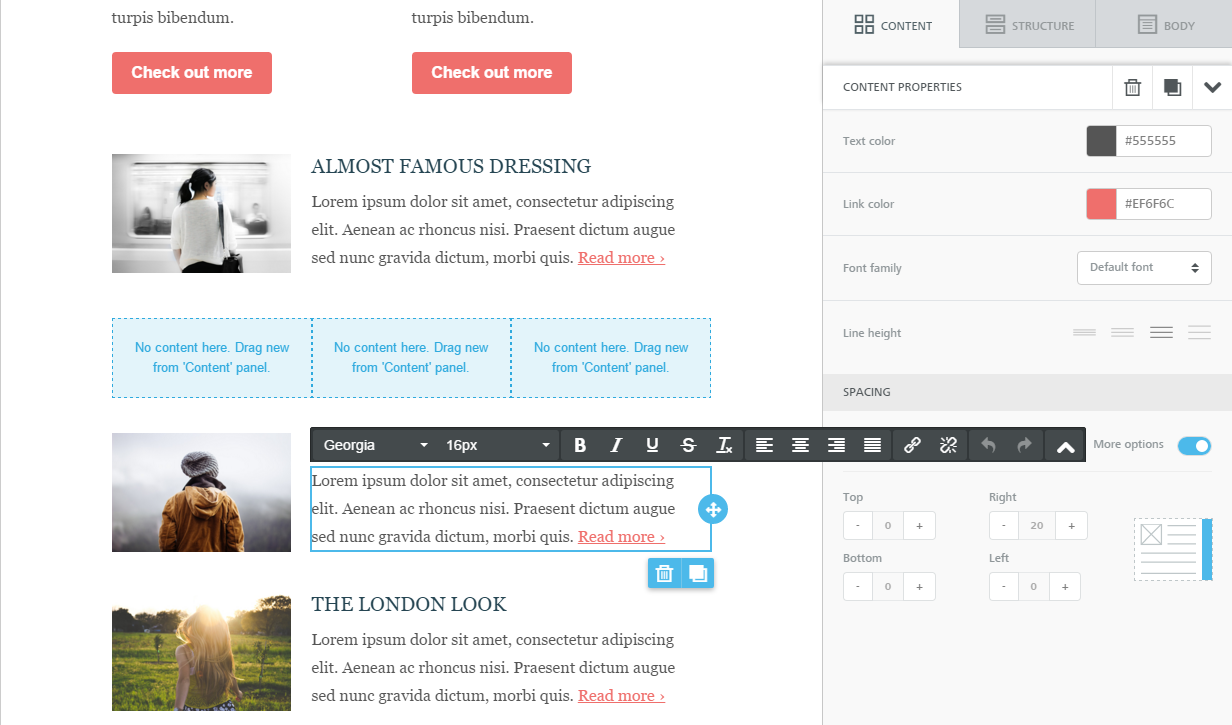
Content properties
Clicking on a content element inside the message will make the content panel switch to Content properties mode, so you can change its settings.
In the example below, for a "text" block you can set text and link color and choose a font. You can also act on the padding (the distance from the borders of the block).
The Content properties area changes depending on the content element that has been selected. If you select a button, for example, you will see a number of tools to help you style the button and link it to your desired action.
Text editing
If you click inside a text content block, the text editor toolbar will appear. The toolbar opens is "simple" mode, giving you access to basic text editing tools.
Click on the icon on the right of the toolbar to expand it to "advanced" mode. Here you will find additional text editing tools, including advanced features such as merge tags (e.g. "Dear [firstname],").
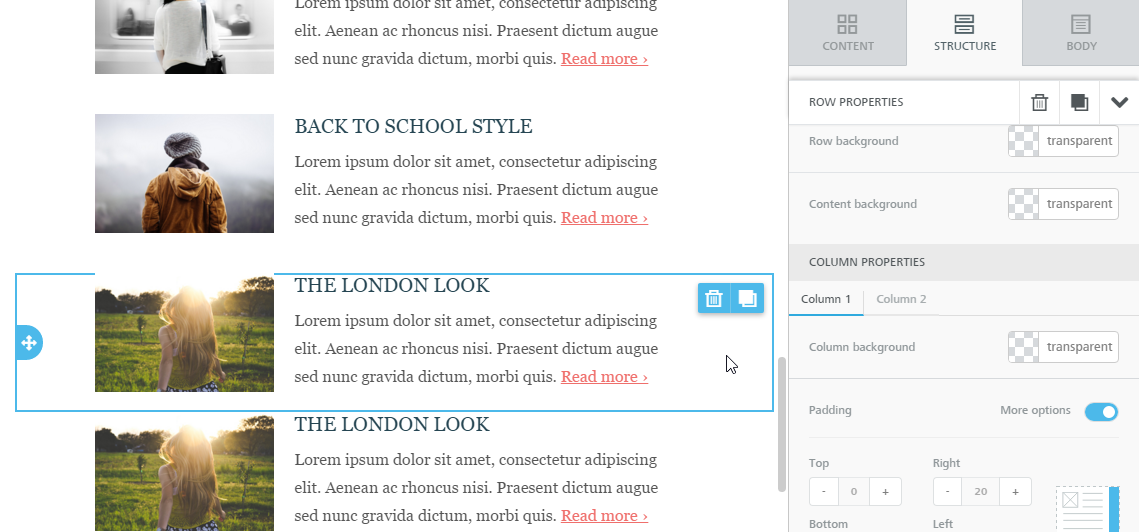
Structure
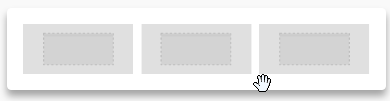
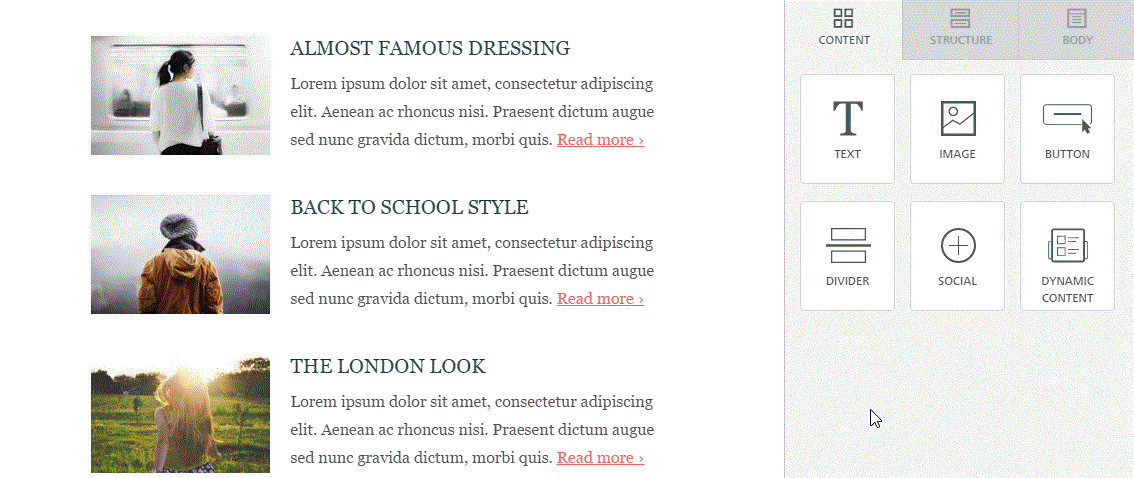
The Structure panel includes different types of structural elements for your message. Think of them of a way to create different sections of the message.
For example:
- A single column section at the top with a hero image
- A two-column section in the middle, with a recent product announcement
- A three-column section in the lower part of the email, with some product information
- Etc.
Unlike content blocks available in BEE v1, the new structures provide much more flexibility and customization at both the row and column level.
Also, you can now clone entire structures (for example, a picture, a button and a text) with all its settings and blocks. Previously you could only clone a single block of content.
If you click on a structure inside the message, you can modify row and columns settings, like background colors, paddings and borders.
Body
From this tab you can modify general settings that apply to the entire message:
- Content area width: set by default to 600px, which is the recommended width for most devices.
- Background color: it's the newsletter's background color. This setting is effective only for rows where a color has not been specified, inside "Row properties". Otherwise, the background color specified for that content structure will be used.
- Content area background color: it's the background color for all content areas. This setting is effective only for rows and columns where a color has not been specified.
- Default font: it's the font used for the whole newsletter. This setting affects all text set to use the default font.
- Link color: it's the link color. As above, this setting affects all text links set to use the default color.