To begin creating a message with the new BEE editor from your platform, click on Messaging > Email > New and then click "Let's get started!"

Drag-&-drop templates
Build your message starting from:
- Basic templates
- Rich templates
- My templates (previously saved custom templates)

Create the message
Creating a message with BEE is very easy. After choosing a template, you can customize:
- Content
- Structure
- Body
Let's see in detail these three areas.
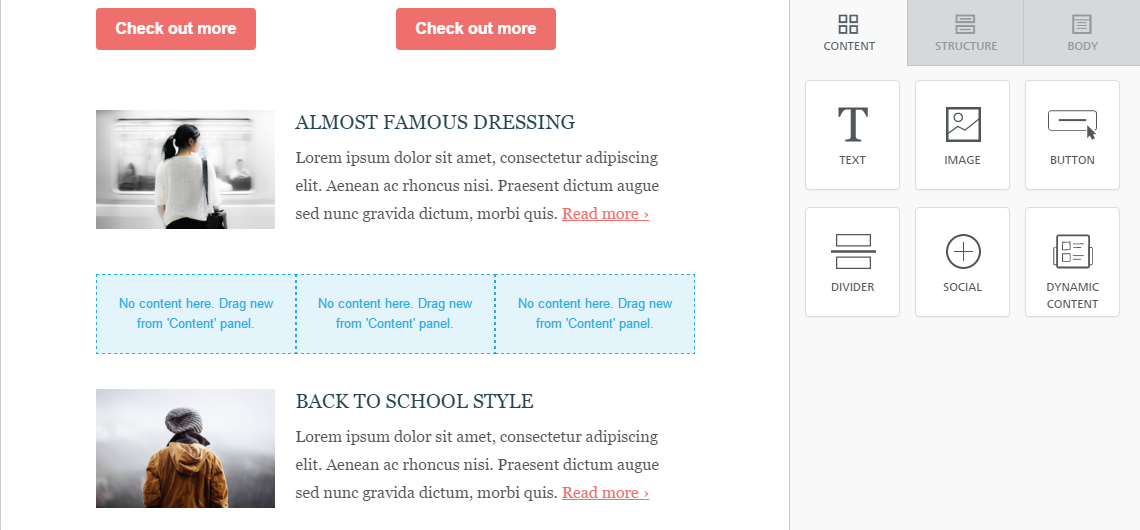
Content
The "Content" tab allows you to choose a new content and add it to your message. Just drag and drop a content type (button, image etc,) in the message area on the left.
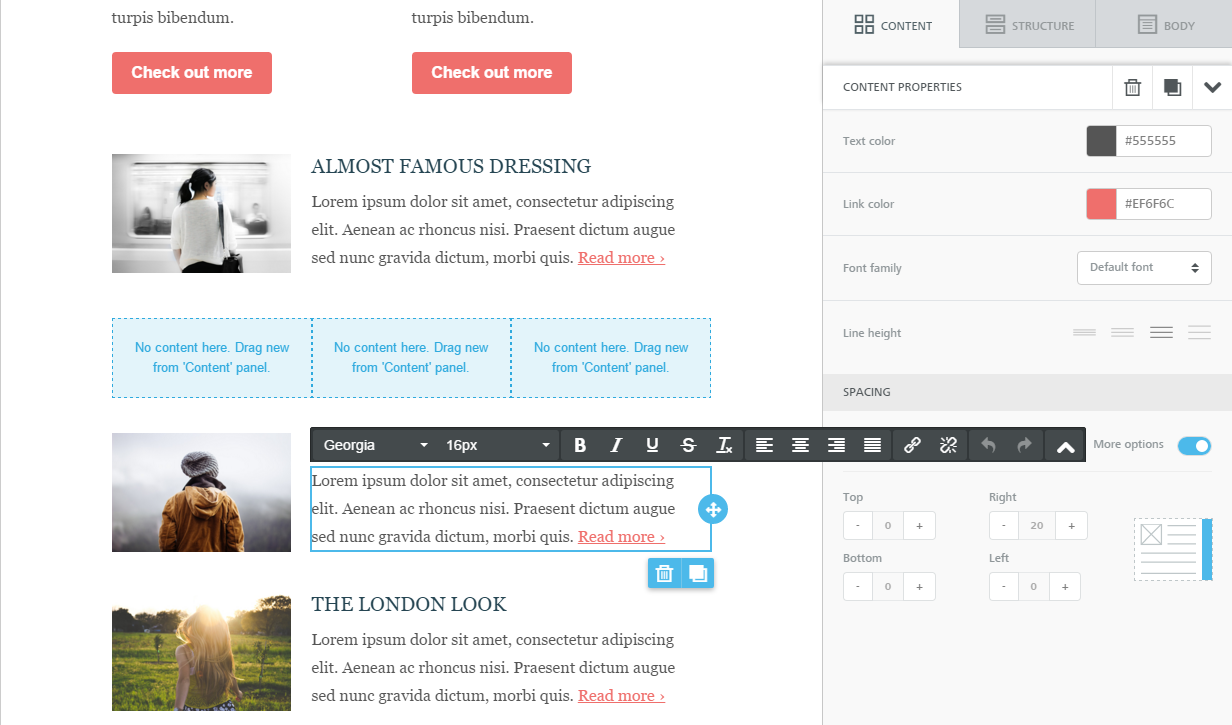
Clicking on a content block inside the message, you can change its settings. In the example below, for a "text" block you can set text and link color and choose a font. You can also act on the padding (the text's distance from the borders of the block).
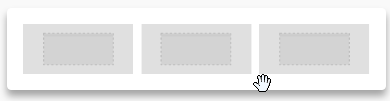
Structure
Structures are a new type of module that you can drag-n-drop and can contain a mix of content blocks. Structures are different based on columns' number and proportion and allow to use different designs for different sections of the message.
Unlike content blocks available in BEE v1, the new structures provide much more flexibility and customization at both the row and column level. Also, you can now clone entire structures (for example, a picture, a button and a text) with all its settings and blocks. Previously you could only clone a single block of content.
If you click on a structure inside the message, you can modify row and columns settings, like background colours, paddings and borders.

Body
From this tab you can modify:
- Content area width: set by default to 600px, which is the recommended width for most devices.
- Background color: it's the newsletter's background color. This setting is effective only for rows where a color has not been specified, inside "Row properties"
- Content area background color: it's the background color for all content areas. This setting is effective only for columns where a color has not been specified, inside "Column properties"
- Default font: it's the font used for the whole newsletter. This setting affects all text set to use the default font.
- Link color: it's the link color. As above, this setting affects all text links set to use the default color.