Improvements in the new version of the email editor
Version 2 of our drag-n-drop email editor introduces a number of exciting changes. Overall, the new editor introduces:
- better email design tools
- improved compatibility with mobile devices
- ability to add your own HTML via a "Custom HTML" content block
- many new, professionally designed templates
- a completely redesigned user interface
Let's review the changes in more details.
Better email design tools
Version 2 of the drag-n-drop editor offers email designers many new tools to create beautiful messages that more closely match their design news.
Quick comparison between v1 and v2 of the drag-n-drop editor
A summary of the feature changes between version 1 and version 2 of the drag-n-drop email editor. For more details, see the sections below.
| Feature | Editor v1 | Editor v2 |
|---|---|---|
| Rows | No row settings | Full support for rows |
| Columns | No column settings | Full support for columns |
| Padding | Only "all sides" | Allows control on both "all sides" or individual sides |
| Borders | Only "all sides" | Allows control on both "all sides" or individual sides |
| Default font family | No | Yes. Affects all text set to use the default font. |
| Default link color | No | Yes. Affects all text links set to use the default color. |
| Custom HTML | No | Yes. Allows insertion of HTML code into the message. |
| Flexible spacers | No | Yes. Both transparent and visible spacers. |
| Color memory | No | Yes. It learns and remembers the colors you use in your design. |
| Responsive on most mobile clients | Yes | Yes |
| Responsive on Gmail app for Android | No | Yes |
Rows of content
Control at the row level allows designers to change the background color of an entire row of content.
In the example below, for instance, the message visually separates the top section from the lower portion of the message by using 100%-width rows with different background colors.

Columns within rows
Settings at the column level within a row allow control on background color, padding and borders for the selected column.

Granular control on padding
Padding settings can be configured both for all sides of the selected element...

... or separately for each side.

Granular control on borders
Border settings can be configured both for all sides of the selected element...

... or separately for each side of a button, column, etc.

Flexible spacers
Spacers help create visual separation between design elements. With v2 of the editor they can be transparent...

... or visible. Here too, granular control on padding provides great design flexibility.

Color memory
As you pick colors for fonts, background colors, etc., the editor will learn and remember them, making them quickly accessible to style future content elements.

Improved compatibility with mobile devices
Additional work was performed on the engine that generates the HTML of the message so that emails created with the editor respond even better than before to the devices where they are opened.
Version 1 of the editor already produced messages that rendered well on most mobile devices. Version 2 improves upon it, addressing a few issues, including support for the popular Gmail app for Android.
Ability to add your own HTML
TO BE REVIEWED WITH BEE TEAM
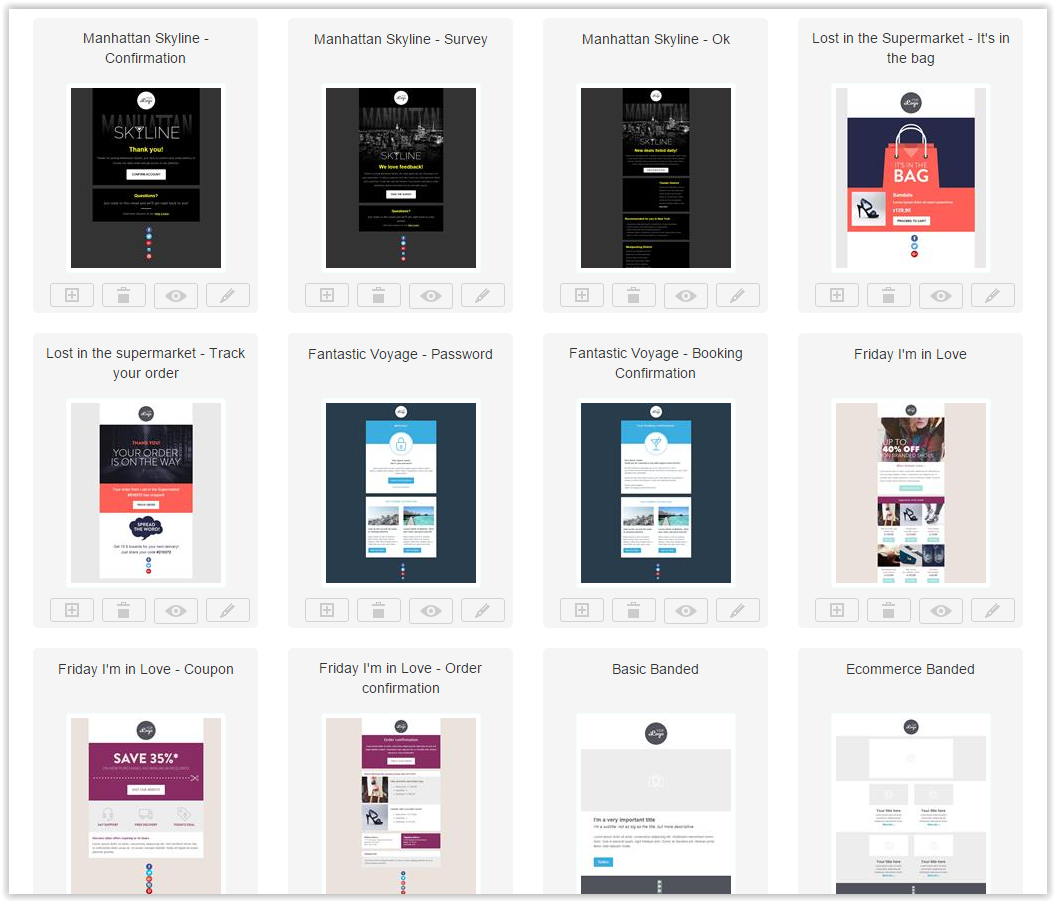
Many new templates
Dozens of new, professionally designed templates were added to the system, taking advantage of the improved design flexibility introduced with version 2 of the editor.
Redesigned look & feel
After collecting feedback from thousands of users, the editor was completely redesigned to combine more advanced features while retaining speed and ease of use.

The new design not only gives access to an array of new tools to create stunning email messages, but also allows for future growth.
The content section, for example, is organized with "tiles" that will host new features when they become available.
The structure section allows for the insertion of new rows of content, with different rows able to host a different amount of columns, for maximum design flexibility.
Lastly, the body section focuses on message-wide settings.
Moving from v1 to v2
Overview
Several months of work were dedicated to ensuring a smooth transition to version 2 of the editor for users of version 1 of the tool.
While many precautions were taken to ensure that any issues would be minimized, there are still a few scenarios in which some conversion problems may arise. This document attempts to highlight them, and suggests possible solutions.
Message conversion
When you open a message that was created with v1 of the drag-n-drop editor, the following will happen:
- A backup copy of the original version of the message will be created.
- This backup copy cannot be edited with the drag-n-drop editor, but can be used with the WYSIWYG editor.
- It can also be sent "as is", if you simply need to send exactly the same message you sent before.
- The original version of the message will be converted to the format used by the new editor.
- The new editor will open, loading the converted version of the message.
- When you save the message, it will be saved with the new message format. The backup copy will not be overwritten.
On-demand conversion
Note that the system will not convert all messages automatically. This could require a large amount of time. Instead, it will convert messages from v1 to v2 of the drag-n-drop editor on demand, when you wish to edit them.
Template conversion
Templates will be handled differently depending on how they were created (or which editor they were designed to be used with).
Drag-n-drop templates
Default drag-n-drop templates will be replaced with a new set of templates designed with version 2 of the editor.
Custom templates designed with drag-n-drop editor v1
Default drag-n-drop templates that you created using version 1 of the editor will be automatically converted. Specifically, the following will happen.
- The original version of the template will be converted to the format used by the new editor.
- The thumbnail shown will reflect the message after the conversion.
- A design element in the top-right corner of the template will indicate that the template has been converted.

- You will be able to:
- Compare v1 and v2 of the template by clicking on the template thumbnail.
- Create a backup of the original template for use with the WYSIWYG editor
- Edit the converted template with the new version of the editor.
- Create a new message from the template, using v2 of the editor. When you do so:
- The new editor will open, loading the converted version of the message.
- When you save the message, it will be saved with the new message format.
Backup before editing
If you wish to make a backup copy of the original template, make sure that you do so before you edit the converted template with v2 of the drag-n-drop editor. Once you have edited the template, you will no longer be able to create a backup copy of the original version of the template.
See an issue in the thumbnail?
If you see an issue in the thumbnail of an automatically converted message, don't despair. Most issues disappear when you actually edit the message. In addition, you can create a backup copy of the original message and use it with the WYSIWYG editor.
HTML templates
HTML templates to be used with the WYSIWYG editor will not be altered.