The final step in your email campaign is to send the email by:
- specifying your 64913603
- choosing the 64913603
- selecting to schedule a time and date for the mailing (or to send it immediately) and managing the 64913603 (view 64913603 to delete an email from the mailing queue).
Sender Name, Sender Email, and Reply-to Email
Every email marketing campaign should have a meaningful sender name and sender email (i.e. the from email)
In addition to editing your sender email address, you can now edit the Reply-to email address conveniently when setting up your email campaign, without having to edit it in the List settings section.
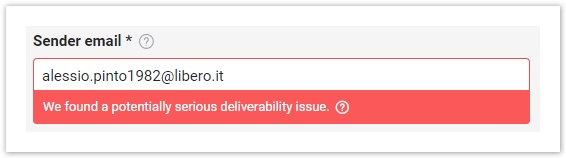
Your from email must be an email address that is easily recognizable and viewed as trustworthy by your recipients. If the email is new you have to verify it and click on Verify now so that you receive a link to click for confirmation.
Your reply-to email (i.e. the email that your recipients can write back to by clicking on reply) should be recognizable and friendly, as opposed to a no-reply@mycompany.com address. The purpose of having a friendly reply-to email is to encourage your recipients to contact you. Email is about communicating with your customers, not telling them "not to reply" to you. In addition, the reply action is counted by ISPs (e.g. Gmail, AOL, etc.) as a clear indication of your recipients' engagement, which means that it positively affects your deliverability.
The Deliverability Checkup system will warn you in case the configured sender has issues. If so, go to Settings > Account settings > Deliverability checkup for more details on how to improve your email's deliverability.
Choosing Recipients
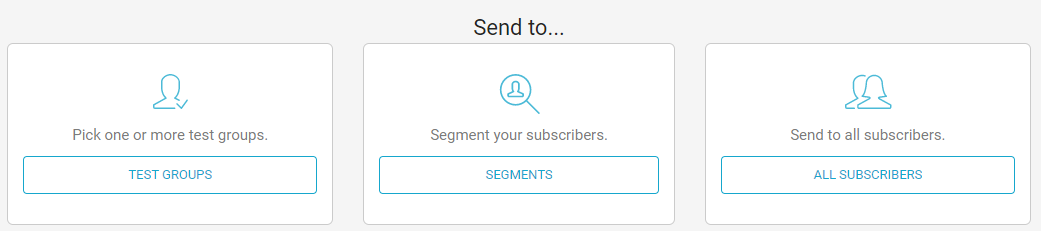
Select who you want to send your email campaign to. Choose to send the email to test groups or segments of your list or send to all subscribers. To send your mailing to just a few email addresses, please use the Quick Send feature.
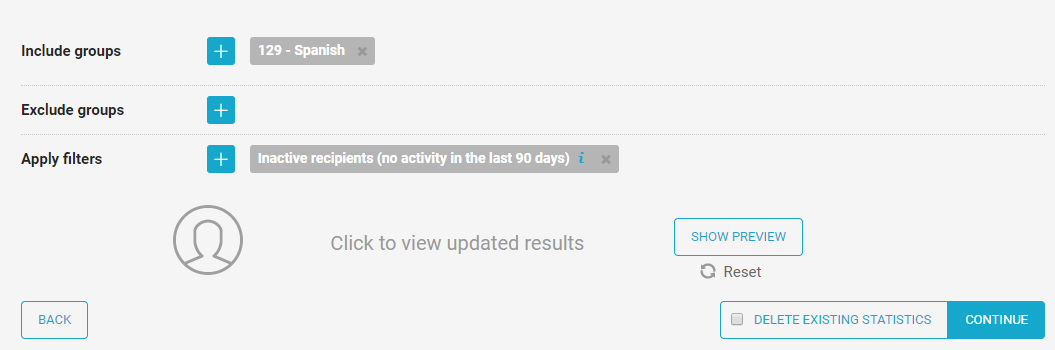
To further segment your mailing list, click on "Segments" and in the next page you can include or exclude groups and apply one or more filters. Filters can be found under Recipients > Filters.
- For more information on Filters, go to this page.
- For more details on Groups, please see: Manage groups
- For an overview of the difference between a List and a Group in MailUp, please see: Understanding Lists and Groups
Queue recipients
In the final step, the system will queue your recipients, displayed with a progress bar.

Once queuing is complete
Once queueing is completed, you have 3 choices:
- Send now
- Schedule for later
- Put in standby
Let's see in detail how each works.
Send now
Hitting "Send now", the mailing will start immediately and join the other mailings that are being sent out by the platform. No other action is needed by the user, who will be redirected to Send Status page.The mailing will appear in "Sending now" area of Send status, with a blinking "starting up" under "Start date", to put in evidence that the system is preparing to send out the message. This is a technical time needed for preliminary operations. These operations can last up to one minute: once finished, messages will start to go out.